
This is the second piece in a two-part series entitled The Four Exposure Scenarios. In the first article, I stated that one of the taller hurdles for many underwater photographers to clear is consistently acquiring proper exposures. Doing so is not as difficult as it might first appear, but until you get a handle on acquiring proper exposures, far too many good opportunities get wasted.
The good news is there are four, and only four, exposure related scenarios that underwater photographers confront in normal shooting situations. Exceptions such as planting lights on shipwrecks and in caves and having divers move lights around in a scene during abnormally long exposures are not covered in this series.
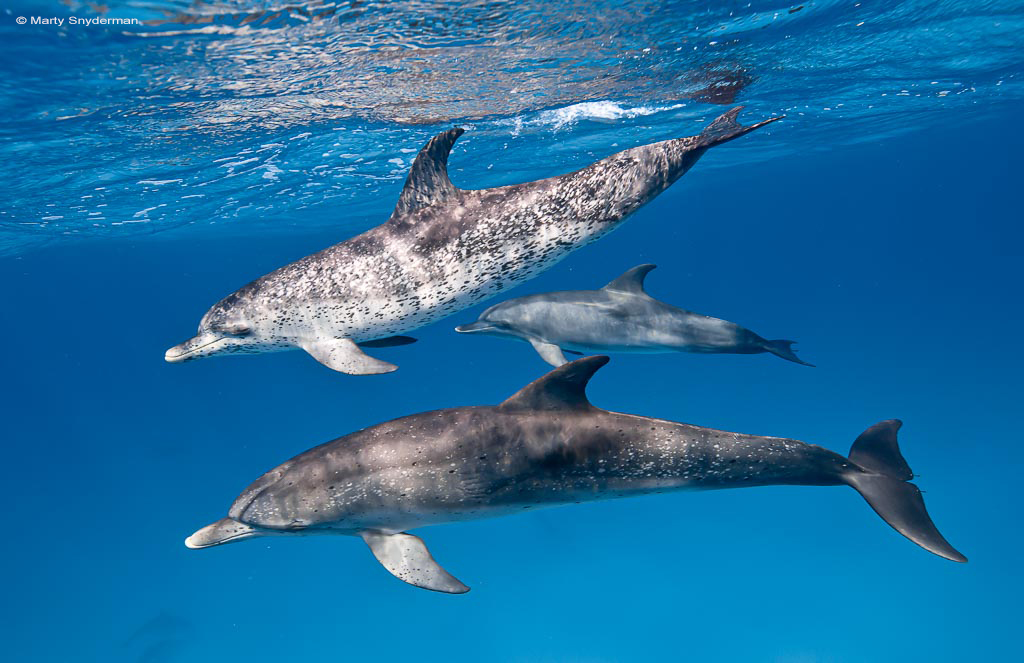
In the first article, I discussed two of the four exposure scenarios. In those scenarios, sunlight is the only light source used to illuminate the subject or scene. In the first scenario, the photographer uses sunlight to reveal color and/or detail in the subject or scene. This photograph of Atlantic spotted dolphins serves as a good example of this exposure scenario.
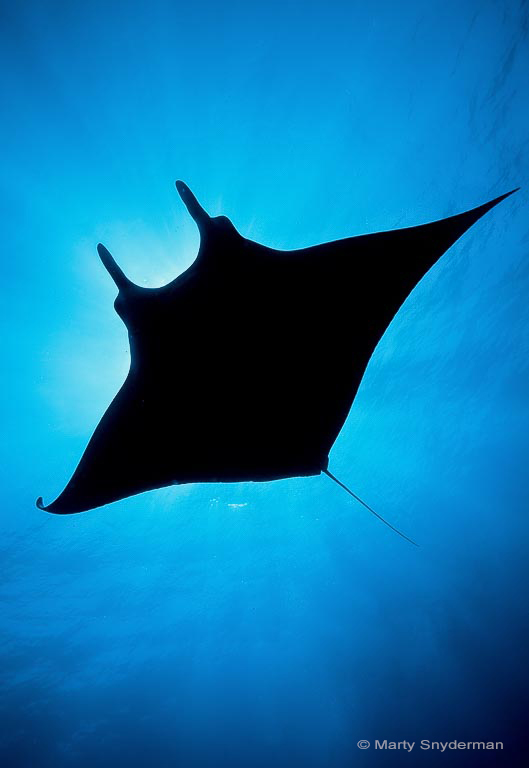
The second exposure scenario is that of silhouettes. When making silhouettes, sunlight illuminates the background which is usually brightly lit water that is at or near the surface and that is bordering the subject. The subject appears to be pure black or almost pure black and is contrasted against properly exposed water as is the case in this silhouette of a manta ray.
Now let’s turn our attention to the remaining two exposure scenarios, ones in which an artificial light source is used when illuminating the subject and/or other foreground elements in a scene. That light source is usually a strobe (or strobes), but some still photographers use continuously burning video lights when creating still photographs. In this piece, the word strobe refers only to a strobe, the term video light refers to a continuously burning light, and the term artificial light refers to both a strobe and a continuously burning video light.
In what I refer to as the third exposure scenario, artificial light is the only light source illuminating the subject or scene. To be clear, this means sunlight does not influence the exposure, thus sunlight has no role in determining the required camera settings. It logically follows that there is no reason to take a light meter reading in an exposure scenario in which artificial light is the only light source used to light the subject or scene.
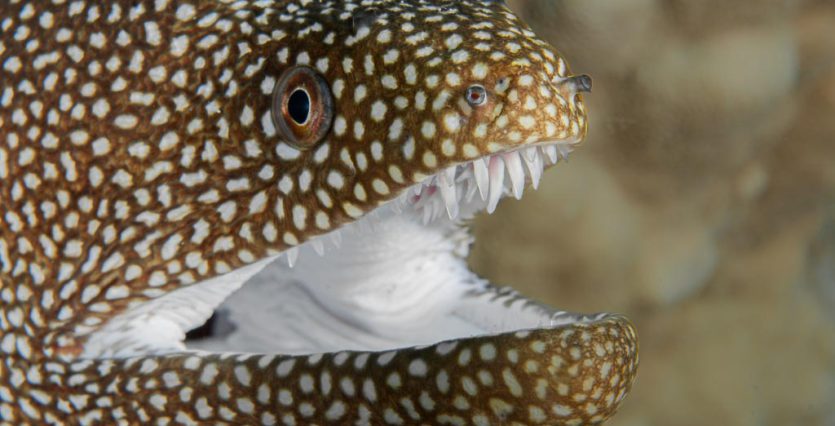
This photograph of a whitemouth moray eel in Hawaii is an example of an image in which artificial light from strobes was the only light source used to expose the shot.
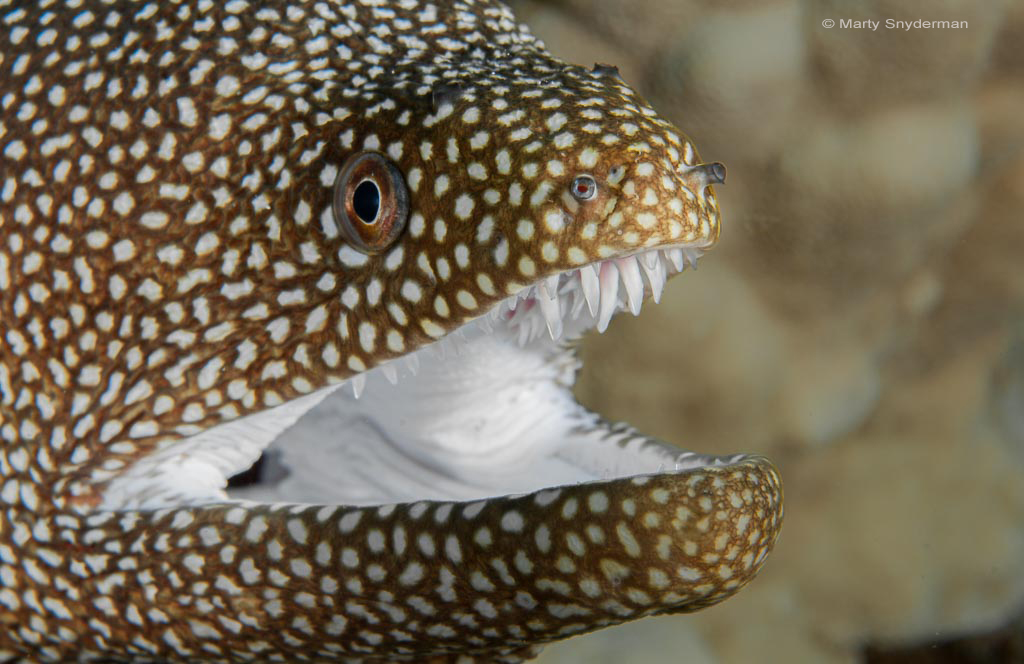
While this shot of another whitemouth moray appears to be very similar to the previous photograph in terms of content, this image is an example the fourth exposure scenario, one in which the photographer coordinated the use of strobe light and sunlight. In this scenario, the photographer needs to use a light meter reading to properly expose the water in the background of the shot.

The point I want to make here is that while the content of the two images is similar, the steps that need to be taken and the tools that are used to acquire a proper exposure are significantly different. Let’s dive a little deeper into to these two exposure scenarios.
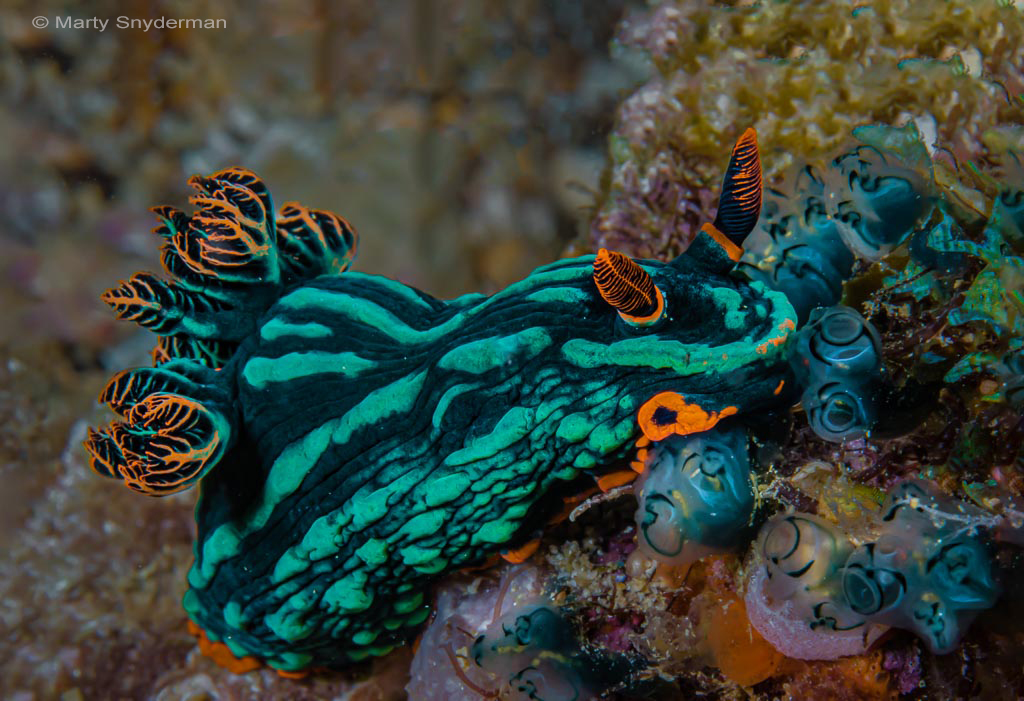
In the third exposure scenario, the only light source used to illuminate the subject and or scene is an artificial light. This means the frame is composed so that the more important elements are in the foreground where they can be lit by the beam emitted by an artificial light and there is no bright water in the background that will appear in the picture as was the case when making this photograph of a nudibranch in the Philippines.
The artificial light-only scenario is commonly encountered. Examples include instances when photographing creatures that live in the recesses of reefs, on or in association with the sea floor, in caves, in dark water, at night etc.
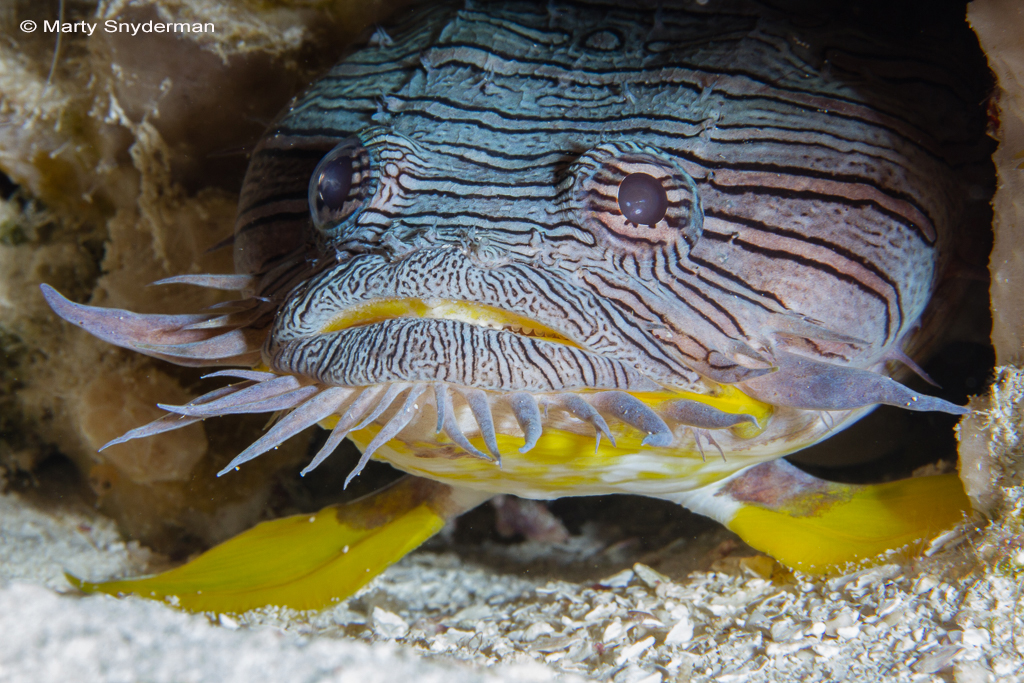
This splendid toadfish (aka Cozumel kitty) seeking refuge under a ledge provides a good example of a subject that is lit only by light from an artificial light even though the photograph was created during the day.
When lighting your subject or scene in this scenario, your exposure depends upon the selected f-stop, brightness of your artificial light, distance between the light and subject, reflectivity of the subject, and ISO. It should be noted that neither your shutter speed or a light meter reading come into play. Without getting too far into the weeds, in this exposure scenario, the exact same exposure will be acquired no matter how long the shutter is open as long as a strobe fires when the shutter is open. In short, the “effective shutter speed” is determined by the duration of the emitted beam of light.
The duration of the burst of light from a strobe only lasts for a fraction of a second. As long as the burst of light takes place when the shutter is open, the strobe can light the subject or scene.
A light meter reading is used to measure the brightness of the ambient light illuminating a subject or scene at a given instant in time so the photographer can expose the scene as desired. In an exposure scenario in which artificial light is the only light source used to illuminate the elements in the frame, there is not enough ambient light (sunlight) to consider.
However, a common mistake is taking a light meter reading on a foreground subject and setting the f-stop, shutter speed, and ISO according to the light meter reading. When the strobe fires sometime later than when the light meter reading was taken, light from the strobe radically changes the brightness of the light that is illuminating the subject or scene, thus rendering the light meter reading useless.
In practical terms, achieving a proper exposure when a strobe is the only light source used to illuminate a subject or scene usually boils down to a question that goes something like the following: “with the power of my strobe and ISO set, what f-stop should I use for my strobe-to-subject shooting distance?” As long as you are close enough to your subject for your strobe to influence the exposure, there will be a correct f-stop to use for a given strobe-to-subject distance. That desired f-stop will change as the strobe-to-subject distance changes. When shooting in the camera’s manual mode, if no other variables change, you will need to open up your aperture the farther away you are from your subject to achieve a proper exposure. Conversely, you will need to close down your aperture the closer you get to a subject.
If you are happy with your composition and do not want to change it, but your exposure is off the mark, you can alter the exposure by (1) opening up or closing down your f-stop, (2) increasing or decreasing your strobe power, or (3) increasing or decreasing your ISO.
If you opt to alter your composition and that causes you to change your strobe-to-subject distance to acquire a pleasing exposure, a rule of thumb is to close your aperture down by a value of one f-stop for every foot closer you get to your subject and to open your aperture by a value of one f-stop for every foot farther away you get from your subject.
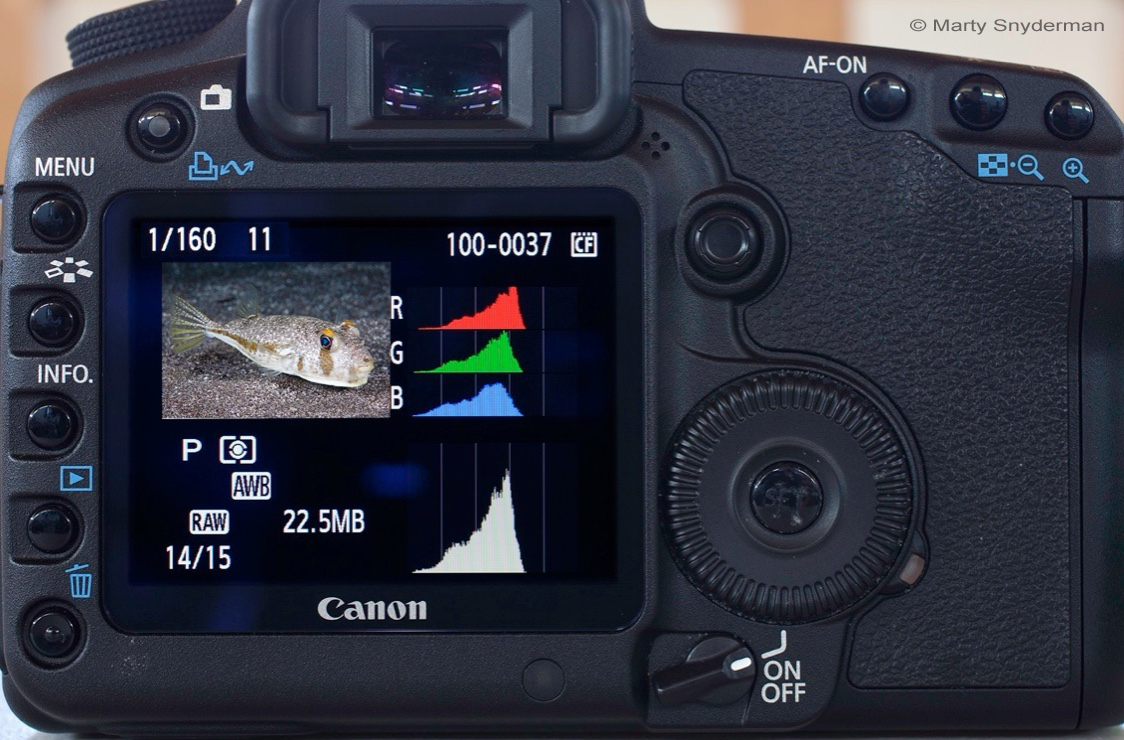
Checking your histogram after making a photograph is a great way to confirm your exposure. Learning how to interpret your histogram is a subject for another day. But there is no question that being able to interpret your histogram(s) is a very helpful skill.
The fourth exposure scenario involves coordinating the brightness of water or other elements in the background of a frame that are lit by sunlight with the brightness of foreground elements that are lit by an artificial light source. While viewers might be inclined to think the entire scene was lit by the sun, as underwater photographers we know that two light sources were considered when making the photograph.
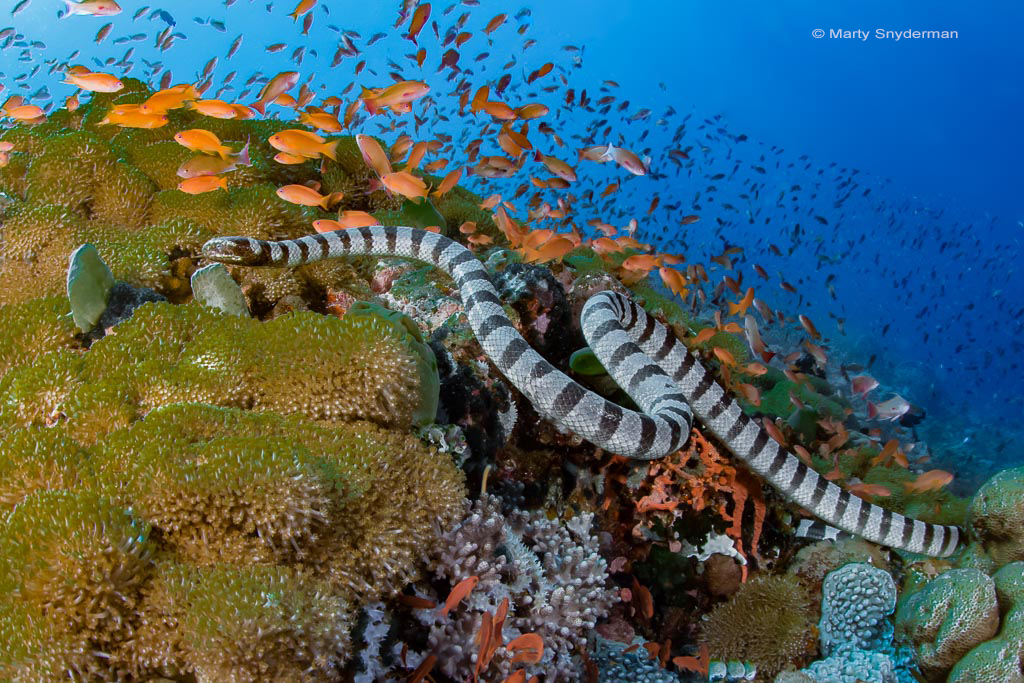
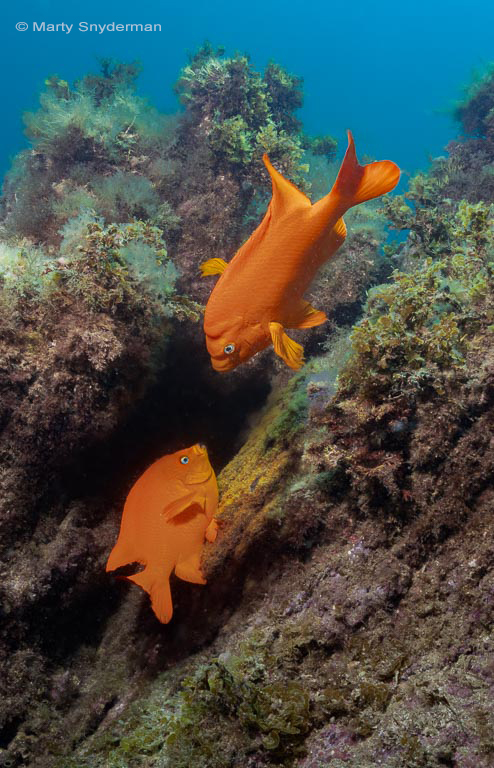
The photographs of a yellow-lipped sea krait swimming over a reef in the Philippines and a male garibaldi watching a female lay her eggs in his nest are examples of photographs in which the coordinated use of sunlight and strobe light were used to expose the scene.
In this exposure scenario, the brightness of one light source, that of sunlight, can be measured at any given instant by using a light meter. But, as mere humans we cannot alter the brightness of sunlight. The second light source is a strobe. We can alter the brightness of most underwater strobes by adjusting the power setting.
So, you start the exposure process by measuring the brightness of the sunlit water with your light meter. This reading enables you to establish your f-stop, shutter speed, and ISO. Then, you set your desired strobe power according to the distance from your strobe to your foreground subject.
In the third exposure scenario, we established the fact that for a given strobe-to-subject distance, ISO, and strobe power there is an f-stop that will yield a proper exposure. In the fourth exposure scenario, when you take your light meter reading you will establish your f-stop. For that f-stop, there is a strobe-to-subject distance that will properly expose your foreground subject.
Changing your shutter speed will alter the exposure of the background elements, but it will not change the exposure of elements in the foreground of your frame.
Despite the fact that acquiring proper exposures when coordinating sunlight and strobe light is the most difficult of the four exposure scenarios to master, with a basic understanding and some practice, it is easy to acquire proper exposures when shooting in this exposure scenario.
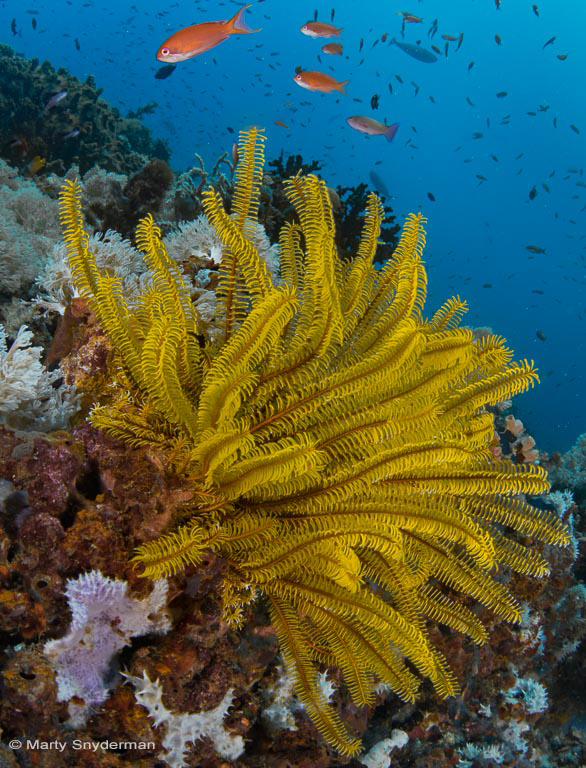
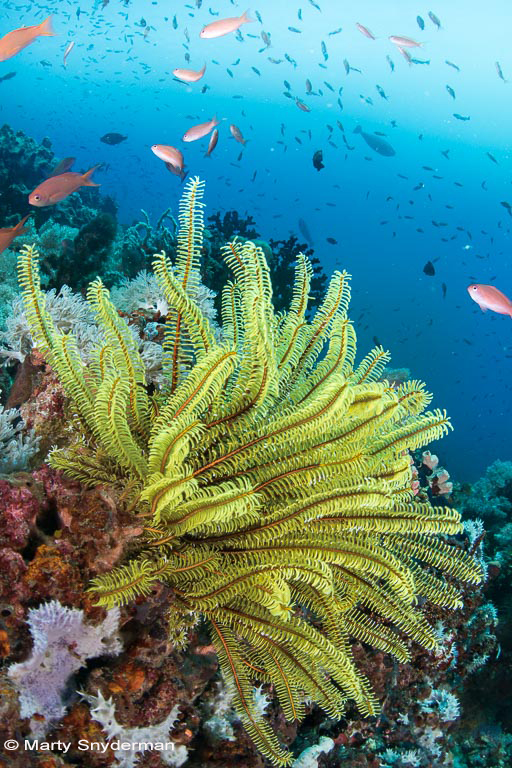
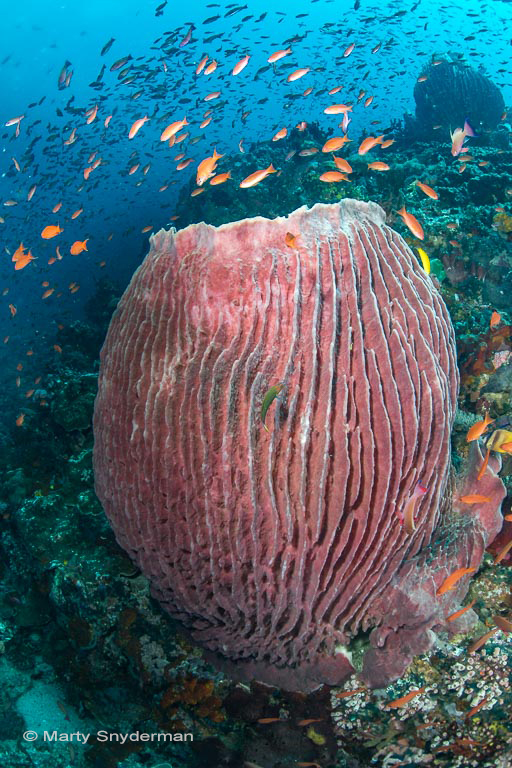
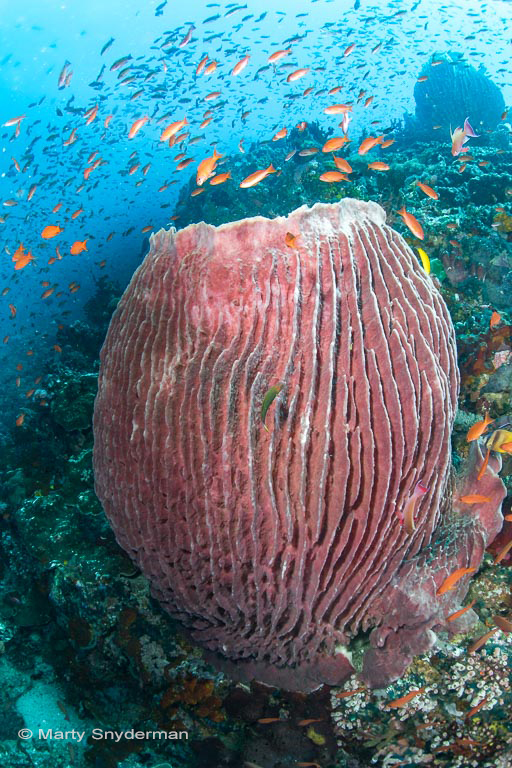
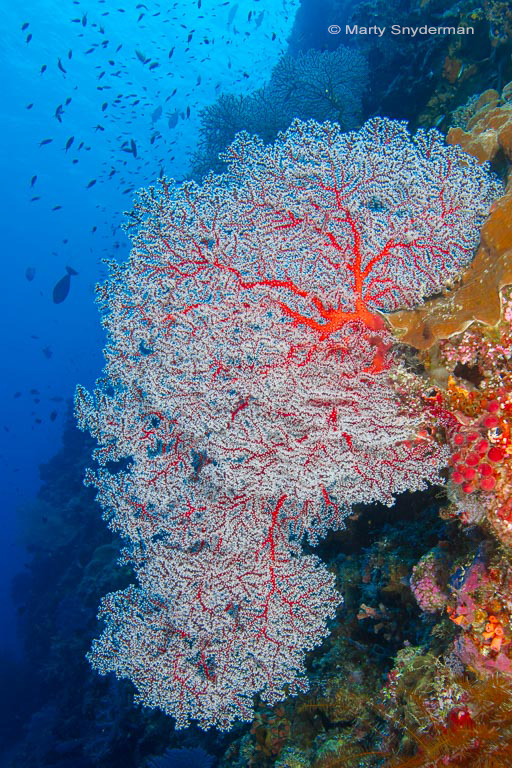
My suggestion is to practice while using your camera’s manual shooting mode as you work in relatively shallow water where there is little, if any, current. Select subjects such as sea fans, soft coral trees, crinoids, coral heads, etc. that can’t swim away from you.
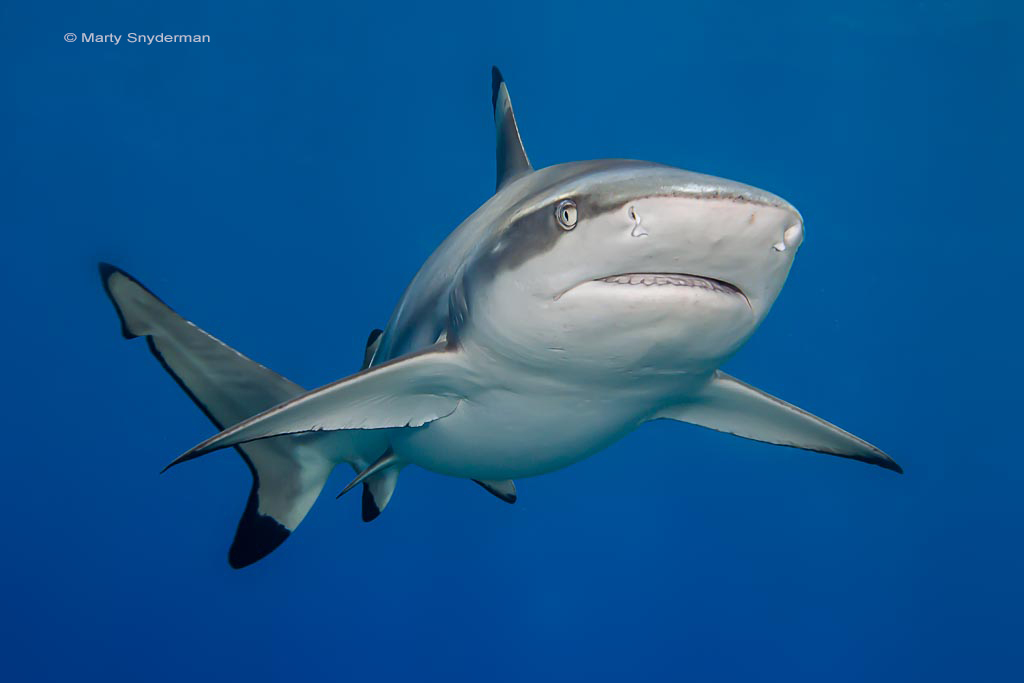
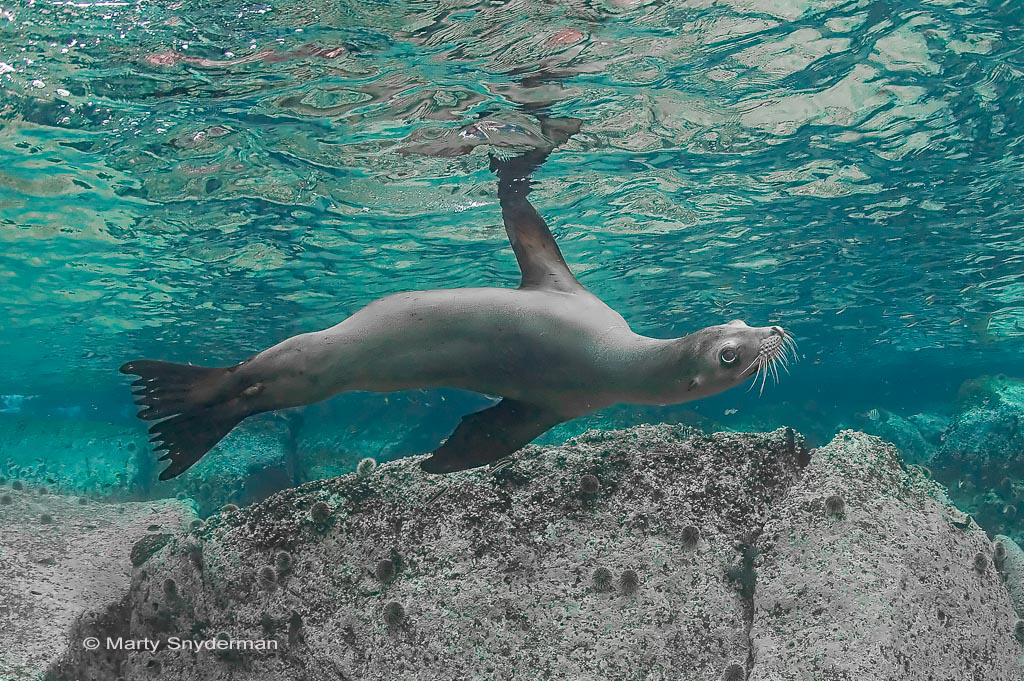
Acquiring a proper exposure when coordinating sunlight and strobe light while working with relatively fast-moving subjects such as dolphins, sharks, sea lions, and even a swimming turtle is certainly more challenging than when working with stationary subjects. But with knowledge and some practice, it is a challenge that can be met. With moving subjects, it is often advantageous to use a camera system’s shutter priority or aperture priority shooting mode to help acquire proper exposures. Using these shooting modes skillfully is a topic for another day.
Missed Part 1? – https://sources.naui.org/two-of-the-four-exposure-scenarios-part-1/
Photo credits for all images go to Marty Snyderman.