

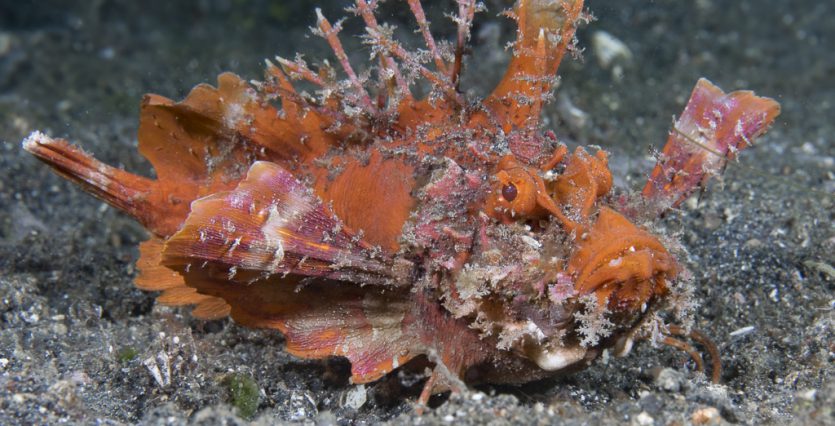
Own an underwater camera system, and it’s all but guaranteed that you will find yourself trying to create a great photograph of a fish. Probably of a lot of fishes. Occurring in an almost endless variety of shapes and colors while exhibiting so many fascinating behaviors, fishes make wonderful photographic subjects no matter where our diving takes us.
Consistently capturing top quality images of fishes requires a shooting strategy. In this piece, I am going to share some personal insights based on my four-plus decades of pursuing fishes with a camera. Other photographers have different strategies and offer additional tips. That’s cool. I think we are wise to take philosophy and techniques from any number of mentors and peers. Doing so helps us develop a personal approach that works best for our personal goals.
When I come across a fish I want to photograph, there are five factors that I consider right off the bat. One, I make sure that I am neutrally buoyant. As an underwater photography instructor, I have spent a lot of time watching other photographers create pictures. Over that time, I have come to believe that too many underwater shooters overlook or underestimate the importance of good diving techniques. I wrote about my thoughts in a recent issue of Sources. One of the more important techniques to master to be a good diver and good underwater photographer are being able to quickly achieve neutral buoyancy, and then to be able to trim your buoyancy as desired by using the air in your lungs.
When photographing fishes, there are times you might want to make yourself negatively buoyant and settle onto the sea floor. Even in those instances, it is usually best to get into position first, and then make yourself negatively buoyant as opposed to fighting your buoyancy as you get into your shooting position.
Two, when I first spot a potential subject, I check my surroundings and mentally map out the approach I will take to get myself into the desired shooting position. As I examine my course, I look for outcroppings of corals or rocks, strands of kelp, sea urchins, or perhaps a structure on a wreck that might impede my progress, and then I think about what I need to do to avoid getting hung up on them or, worse yet, punctured by them.
Three, when I mentally map my course, I select a shooting position that I think I can get to without frightening my subject. This position is some specific distance away from where I think my subject will be. Given that distance and anything I know about the reflectivity of my subject I set my aperture, shutter speed, ISO and strobe power to what I think will be the desired settings. Establishing these controls before I close in on my subject helps minimize movements that might disrupt my subject’s behavior or cause a potential subject to turn away, retreat into a hiding place, or swim away.

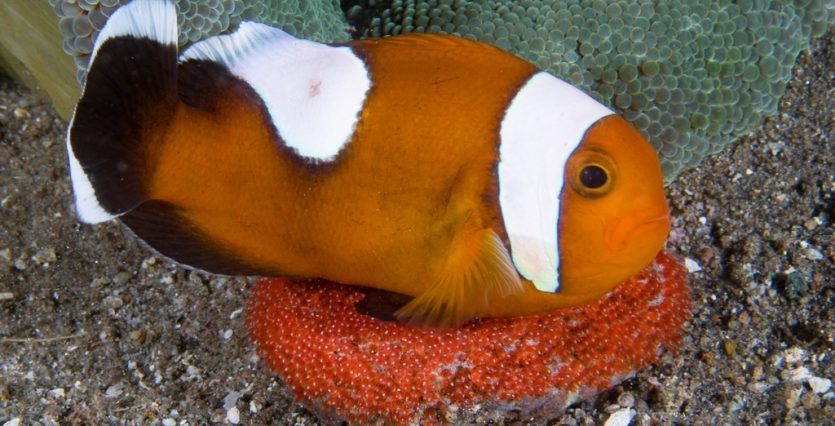
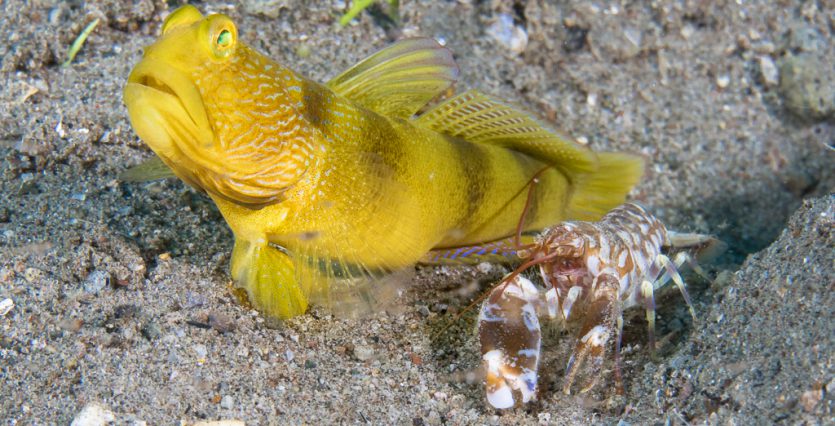
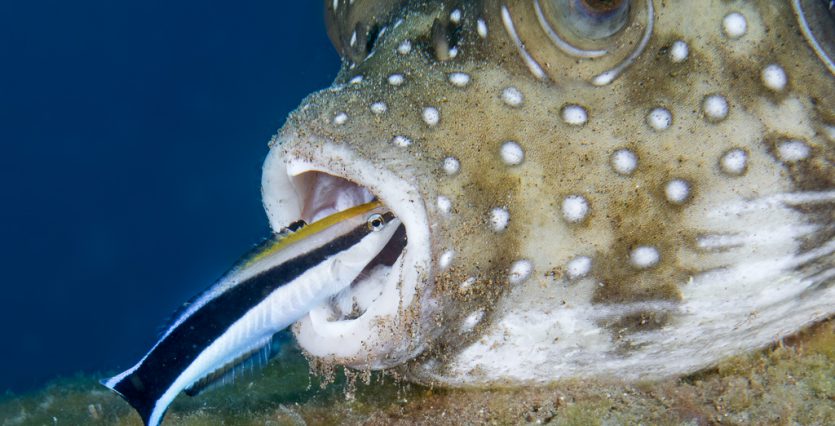
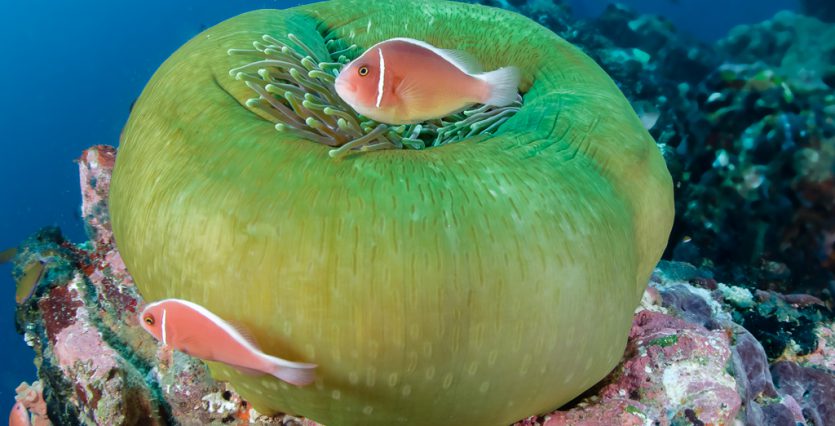
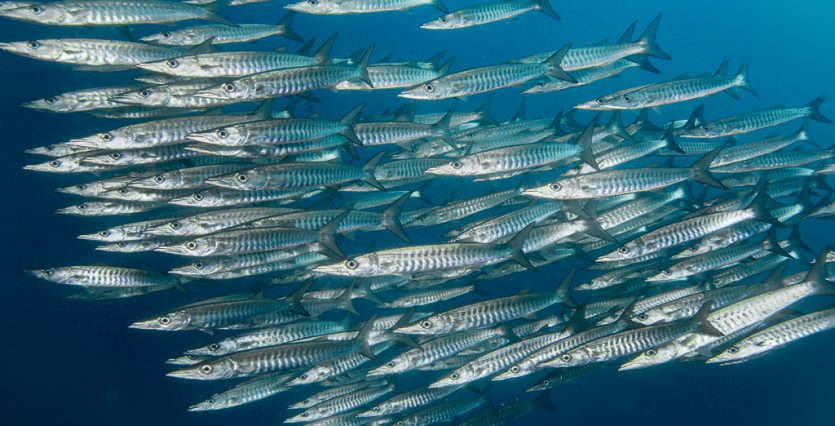
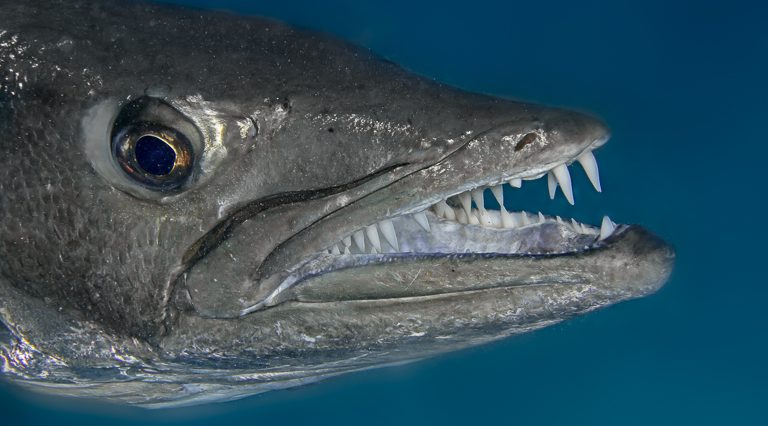
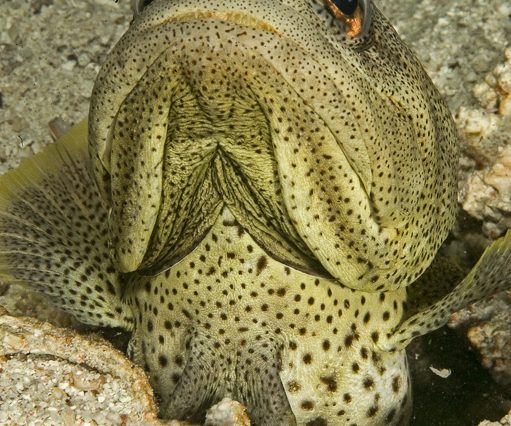
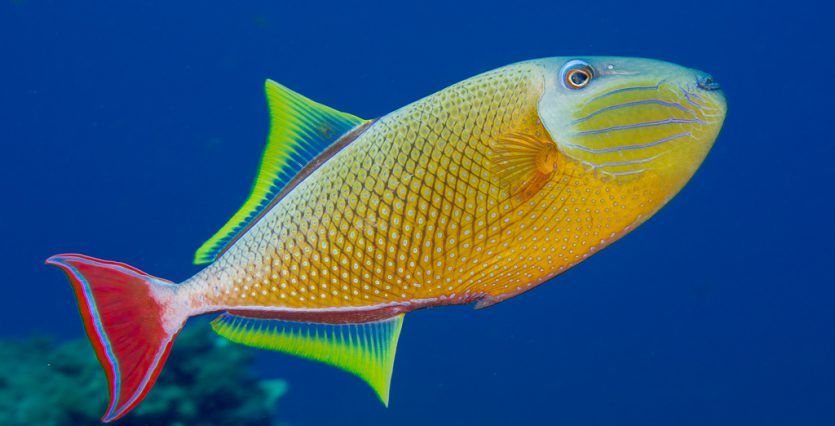
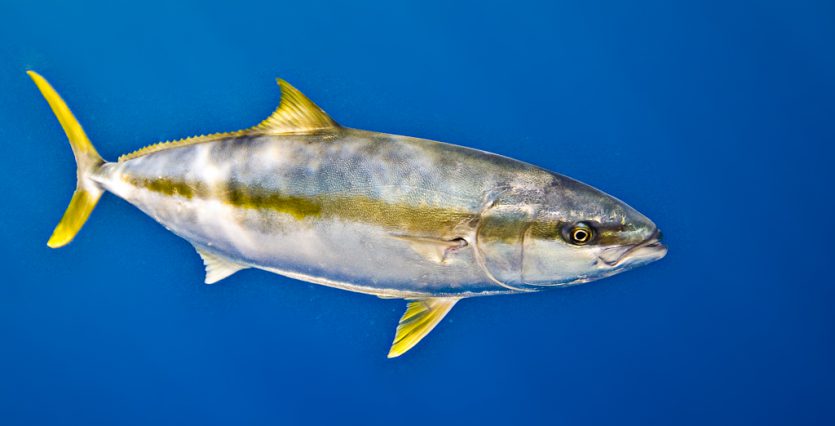
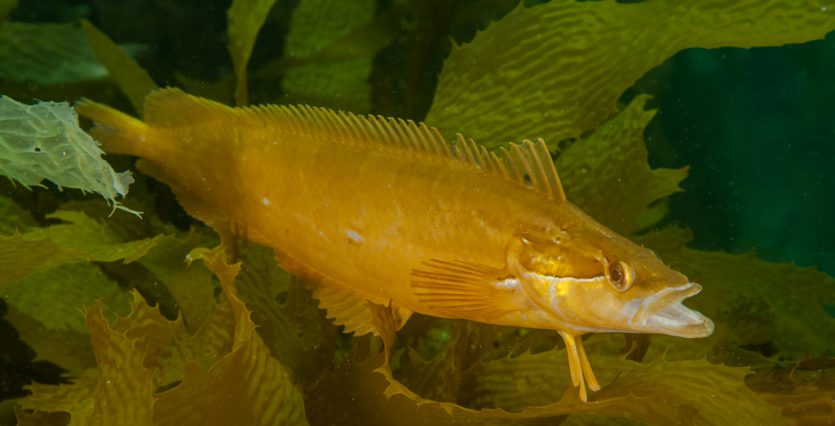
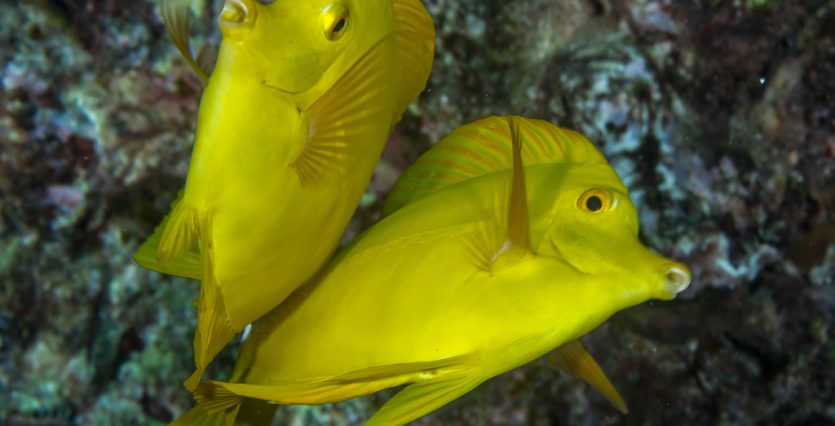
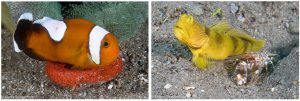
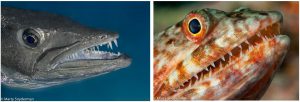
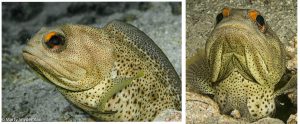
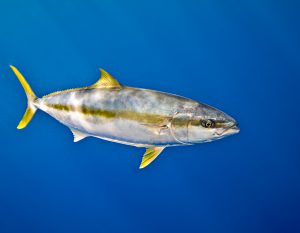
Four, I try to determine the type of shot I am going to try to capture so that once I am in shooting position I’ll be ready to compose and shoot. I separate my fish photographs into 10 categories. They are: (1) Identification shots with the subject’s body parallel to the sensor. (2) Esthetically pleasing shots with the fish facing toward my lens at a pleasing angle, usually between 15 and 45 degrees. In photographs that fall into this category, my subject appears to be more animated than in an identification shot. (3) Fish in their natural environment. These images include some element(s) in the image that allows viewers to instantly realize the photograph was created in the wild as opposed to a non-natural setting. (4) Images that reveal fish behavior such as courtship, mating or spawning, cleaning, and predation, etc. (5) Close-up images of various body parts, usually the face or mouth.
I consider creating both horizontally oriented and vertically oriented frames of every subject in the various categories, and that is how I get to 10 categories instead of just five. Too many underwater photographers shoot almost all horizontal frames. That is probably because it is easier to hold most camera systems and position strobes with the camera in a horizontal orientation. But this is not to say that a frame composed with a horizontal orientation is any more or less likely to create a more pleasing composition than a vertical frame.
Sometimes fish can be very cooperative posers. But other times, our window of opportunity is short. I want to be ready to start composing and shooting as soon as possible after I get into my shooting position, and my personal categories help me get started.
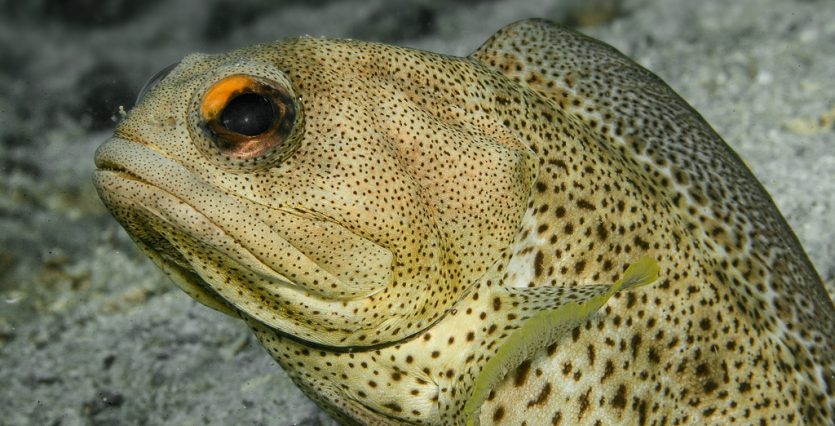
Five, whenever a fish’s eye is in my composed frame which is most of the time, I do my best to make sure the eye is in razor-sharp focus. Out of focus eyes are usually ruinous.
Six, if a fish is on the move, I try to give it room to swim. This means I intentionally leave a little open space, known as headroom, in front of my subject. When possible, I shoot tighter frames when my subject is relatively still.
My hope is that you will use my ideas to help you develop your own style and capture the fish photographs you seek anywhere your scuba diving travel takes you.